Wii Homebrew Launcher
| This is an old revision of this page, as edited by Crayon (talk | contribs) at 08:00, 2 May 2008. It may differ significantly from the current revision. |
| Wii Homebrew Launcher | |
| General | |
|---|---|
| Author(s) | Hell Hibou |
| Type | Loader |
| Links | |
| [[v0.3|Download]] | |
| Source | |

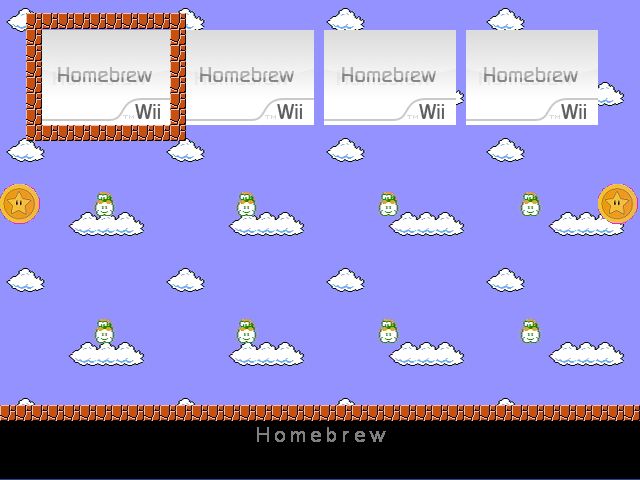
Wii Homebrew Launcher is an interface similar to that of the Wii menu. It allows you to start homebrew stored on your SD card in the Wii front SD slot. Each program is represented by its own customizable "channel".
Installation
- Copy boot.elf to an SD card
- Create a folder named homebrew on the root of the SD card. (X:\homebrew)
- For each homebrew:
- Create a folder in the homebrew folder(Max 8 symbols long)(X:\homebrew\12345678)
- Place The elf in that folder and name it "boot.elf"
- OPTIONAL: For a custom name: add a "title.txt" containing the channel's title
- OPTIONAL: For a custom image: add a "title.bmp", it has to be a 24-bits bitmap of 132x95 pixels.
- Any files related to a homebrew can be put anywhere, despite what it may seem in the example.
Usage
It can only be launched from the Twilight Hack or the Homebrew Channel. It requires the use of a GameCube controller.
- D-pad: Select a channel
- A: Launch the channel
- R/L: Change page (more then 11 homebrew channels)
- Z: Refresh the channel list.
Settings
Display
If you have any problem with the display you can manually set the video mode. Just put a file named system.ini in the system\config\ folder of your SD card, and choose one of the following setting:
VideoMode = auto
# VideoMode = PAL
# VideoMode = mPAL
# VideoMode = euRGB60
# VideoMode = NTSC
Lines beginning with the # are comments.
Translation
To install a translation unzip the archive in the root of your SD card. Check the Downloads section for available translations.
To make your own translation, create a file called lang.ini and put it in the system\config\ folder. Each line is a message to be translated. Only modify what is on the right of the = sign. Here is an example:
NoHomebrewFound = No Homebrew found
HomebrewMenu    = Homebrew menu
Return          = Return
WiiMenu         = Wii menu
RestartLoader   = Restart loader
Shutdown        = Shutdown Wii
Press           = Press
Skin
Skins must be installed in the SYSTEM/THEME folder of your SD card. To make your own skin you must create 11 24-bits bitmaps and a file called theme.ini with the following information:
ColorFontBar = 0xFA79FA82
ColorFontMenu = 0x80808080
ColorMenu = 0x00800080
BackgroundInMenu = 1
Colours are in the Wii format and not in RGB. Here are some examples taken from the libogc library:
| Name | Code |
|---|---|
| BLACK | 0x00800080 |
| MAROON | 0x266A26C0 |
| GREEN | 0x4B554B4A |
| OLIVE | 0x7140718A |
| NAVY | 0x0EC00E75 |
| PURPLE | 0x34AA34B5 |
| TEAL | 0x59955940 |
| GRAY | 0x80808080 |
| SILVER | 0xC080C080 |
| RED | 0x4C544CFF |
| LIME | 0x952B9515 |
| YELLOW | 0xE100E194 |
| BLUE | 0x1DFF1D6B |
| FUCHSIA | 0x69D469EA |
| AQUA | 0xB2ABB200 |
| WHITE | 0xFF80FF80 |
| MONEYGREEN | 0xD076D074 |
| SKYBLUE | 0xC399C36A |
| CREAM | 0xFA79FA82 |
| MEDGRAY | 0xA082A07F |
Downloads
- Version 0.2 | Mirror by Oste Hovel
- Homebrew pack - 8 Wii homebrew apps in the correct format for the launcher (including images)
- Custom Icon Pack:
- Custom Icon Pack - A custom icon pack covering all (I think) Wii homebrew icons (plus some wishes!)
- Custom Icon Pack - On a French forum
- Custom Skins: